KiCAD + Seeedstudio Fusion: Getting Started
Seeedstudio Fusion is a batch PCB service for 2- and 4-layer boards. With shipping, the cheapest option is ten boards, 5x5 cm (2x2 inch) maximum size, for $15. The turn-around time is just about a month, which includes about a week to build and about three to ship. The quality is high enough, and the DRC rule limitations are acceptable, for hobbyist work.
Their instructions are not entirely clear for KiCAD. Here's how I got started, and received boards precisely as I expected.
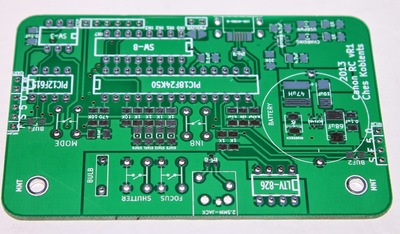

Let's get the basics out of the way.
- Learn KiCAD
- Create a schematic
- Create a board layout
- Pass DRC with Seeedstudio Fusion's rules
- Learn how to generate gerbers and a drill file
At this point, the real challenge is to figure out how to generate the proper gerbers. Why is this an issue? Well, if we look at Seeedstudio's requirements (as of writing this article):
Gerber file requirements:
The following layers are needed:
Note:
The Gerber file must be RS-274x format.
The following layers are needed:
- Top Layer: pcbname.GTL
- Bottom Layer: pcbname.GBL
- Solder Mask Top: pcbname.GTS
- Solder Mask Bottom: pcbname.GBS
- Silk Top: pcbname.GTO
- Silk Bottom: pcbname.GBO
- Drill Drawing: pcbname.TXT
- Board Outline?pcbname.GML/GKO
Note:
The Gerber file must be RS-274x format.
Now when you open up your Plot dialog, you should check the B. SilkS (back/bottom silkscreen), F. SilkS (front/top silkscreen), and Edge.Cuts (outline) gerber options. Your screen should look something like this:
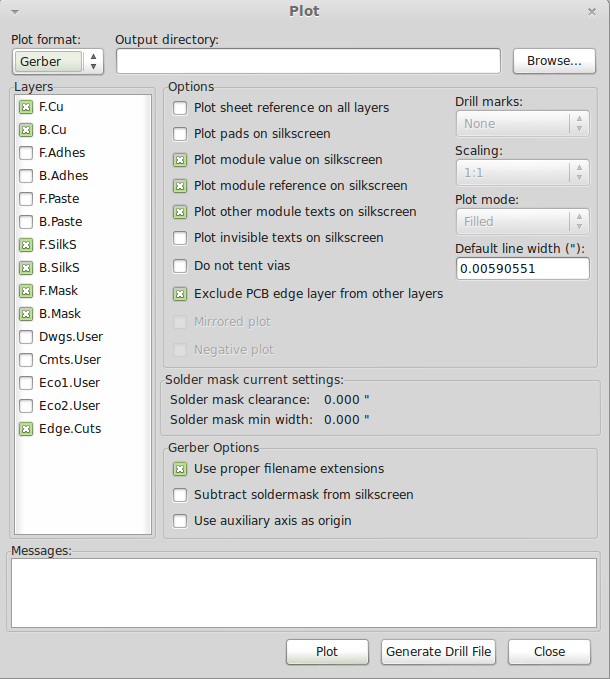
And in the drill file screen, you should check Minimal Header box, and select Suppress Leading Zeroes from the 'Zeroes Format' selection, leading to a 2:4 precision. It should look like this:
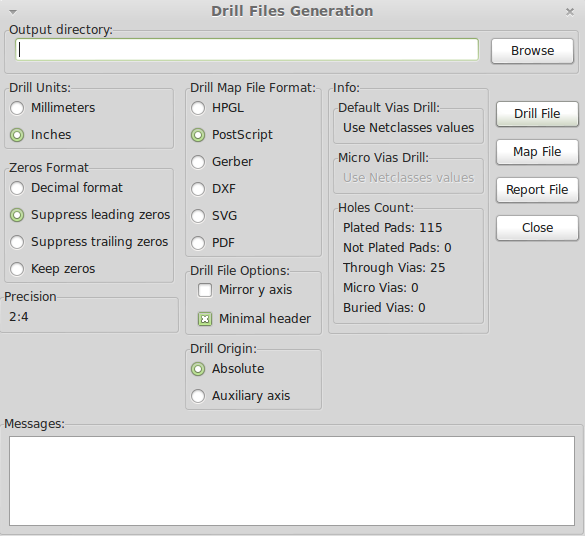
Now click the Drill File button, close the drill dialog, hit the Plot button, and close that dialog as well.
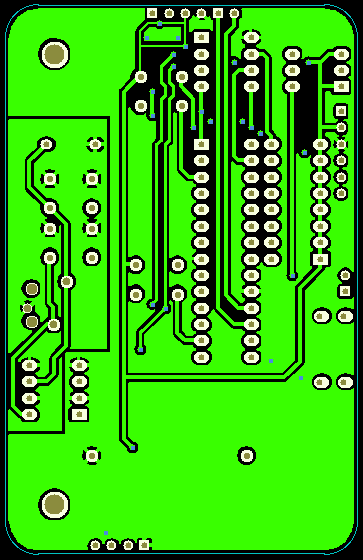
Check your gerbers in gerbviewer (gerbv) to make sure everything is right. In the example below, I made sure that the vias looked right, the drills looked right, the stop-soldermask looked right on the top and bottom, the silkscreen looked right on the top and bottom, the copper looked right on the top and bottom, and that the dimensions looked right. A lot of checking! (And I still missed one small thing, which thankfully turned out to be a gerbv bug and not my mistake.)
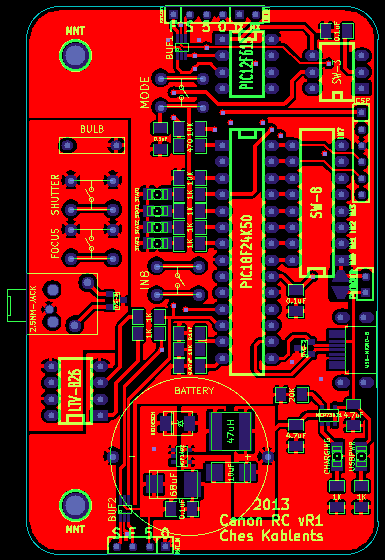
These gerbers were generated from a layout that looked like this (signal planes hidden):
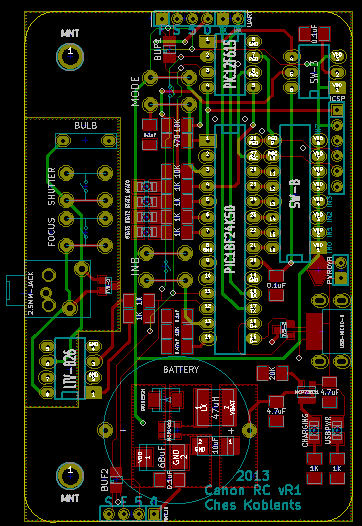

Finally, zip up all eight files: .gbl, .gbs, .gbo, .gbr, .gtl, .gts, .gto, and .drl. Even though this isn't the format that Seeed says they want, this is the only one KiCAD generates, and they will accept this without issue.
After this, the rest is simple. Go to the Seeedstudio Fusion site, make your board size, color, count, etc selections; upload the zip file; follow the dialogs; pay for your order.
Even though your file extensions are somewhat different from what their service says to do, they should know what to do with your files. They did for me!
Disclaimers: I'm not responsible if any of this advice was bad, and you end up wasting money. It worked for me. But please do tell me so I can update this article. Also, as time goes on, this article may change, and Seeedstudio Fusion's rules may change as well. Make sure to look at the date to the right before assuming this advice is still valid!
Ches Koblents
October 13, 2013
October 13, 2013
